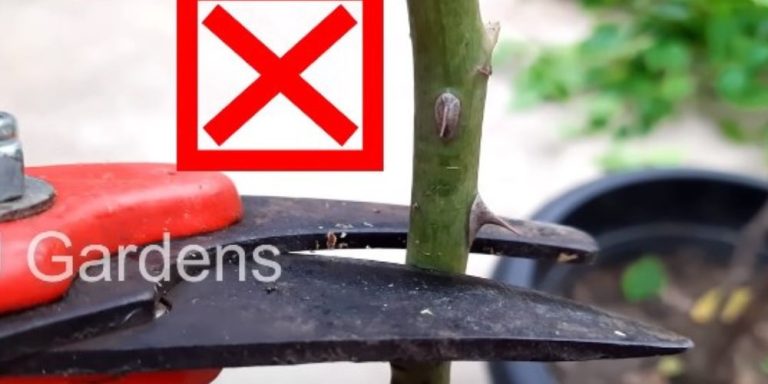
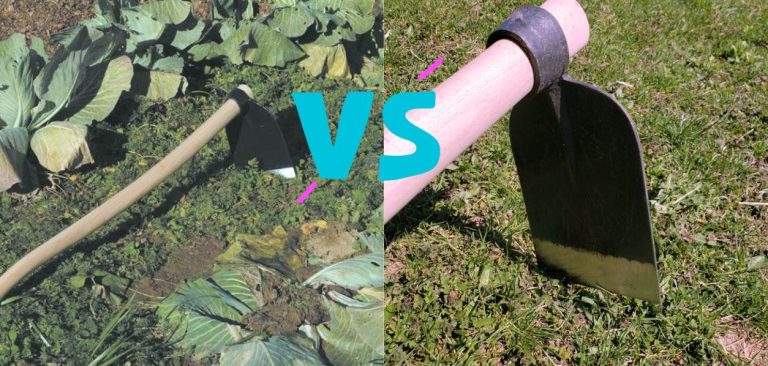
How to Sharpen a Dutch Hoe
Sharpening your Dutch hoe is not a daily task, but after using it for a few days you will realize that you are not able to use it smoothly. You can get a blacksmith to sharpen a dutch spade, but it will cost you an extra $5.
But using the tips that I will share below, you can easily sharpen the hoe at home. But let’s begin.
What is Dutch Hoe Used for ?
A Dutch spade is especially used to cut the weeds on the surface of the ground or right. The tool has a flat, sharp blade that is mounted in a right corner of the handle, which allows the user to push or pull through the ground while standing upright.
It is commonly used to:
Vegetable Gardens: To remove small weeds in the crop rows without disturbing plants.
Flower beds: Clean weeds without damaging fine flowers and plants.
Gravel or ripe path: To remove the shallow-rooted weeds that grow along the middle of the stone or along the edge of the path.
Lawn: To clean the weeds on the side of the flower bed or walking path.
The Dutch spade works best on loose ground and is ideal for shallow weeds, where it cuts the root of the weed to the bottom of the surface and prevents growth.
How to Sharpen a Dutch Hoe?
A Dutch ax usually doesn’t need sharpening while you’re actively working in the garden, as it’s designed to last a long time before needing maintenance.
However, if you find that the blade is becoming dull with use, you can sharpen the Dutch ax by following my instructions.
Required Materials:
- Mill File (Medium-Coarse Grade)
- Clamp or bench vise (optional)
- Protective gloves
- Wire brush (optional, for cleaning)
- Metallic lubricant or oil
Step by Step Guide:
Clean the spade blade:
Before sharpening, make sure the spade blade is free of dirt or debris. Use a wire brush or cloth to clean it. A clean surface allows for a better sharpening process.
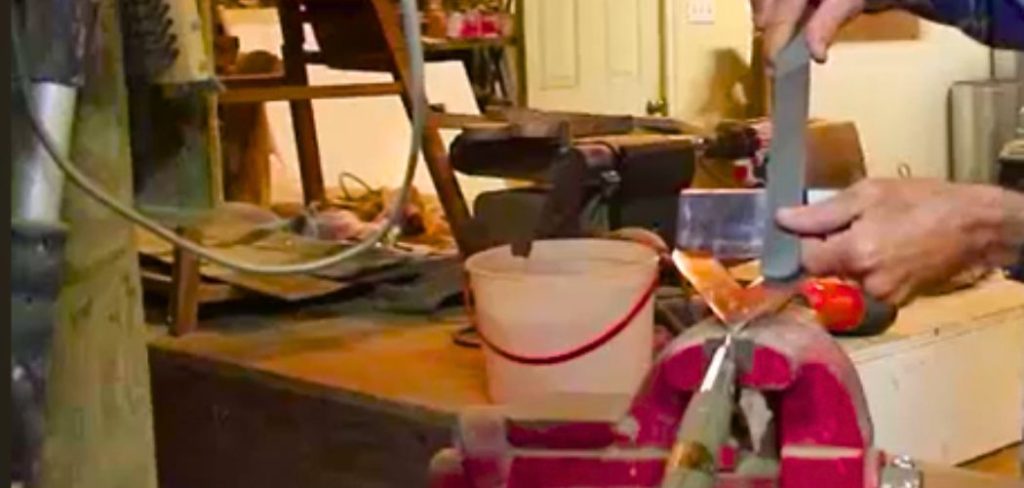
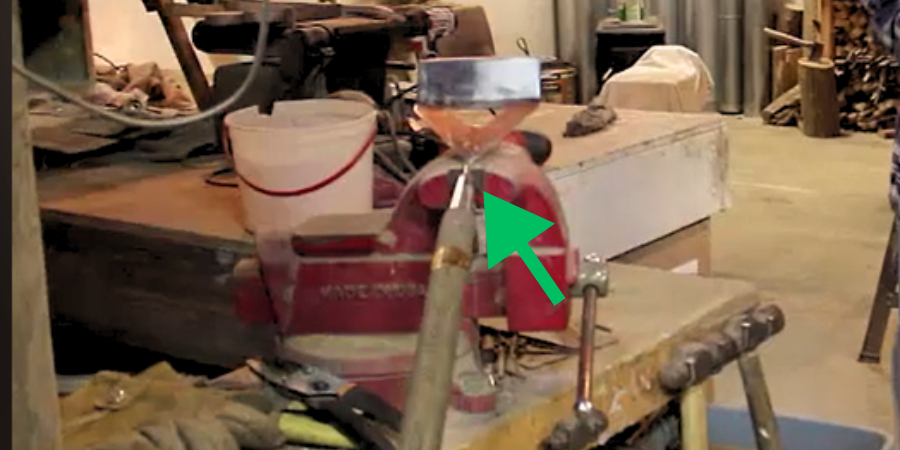
Secure the spade:
If you have a bench vise or clamp, place the blade securely in the vise with the cutting edge facing up. This will keep the tool stable and prevent any movement while sharpening.
If you don’t have a vise, place the spade on a hard, non-slip surface and hold the handle firmly with one hand, keeping the blade steady against the other to ensure control and precision.
Inspect the blade:
Check the edge of the blade for any burrs or unevenness. Dutch hoe usually have a flat or slightly angled blade. Focus on maintaining this edge while sharpening.
Sharpen with file:
Hold the mill file at a 20- to 30-degree angle to the edge of the blade.
Push the file away from you along the cutting edge, maintaining even pressure. Don’t look back; Instead, use long, smooth strokes in one direction.
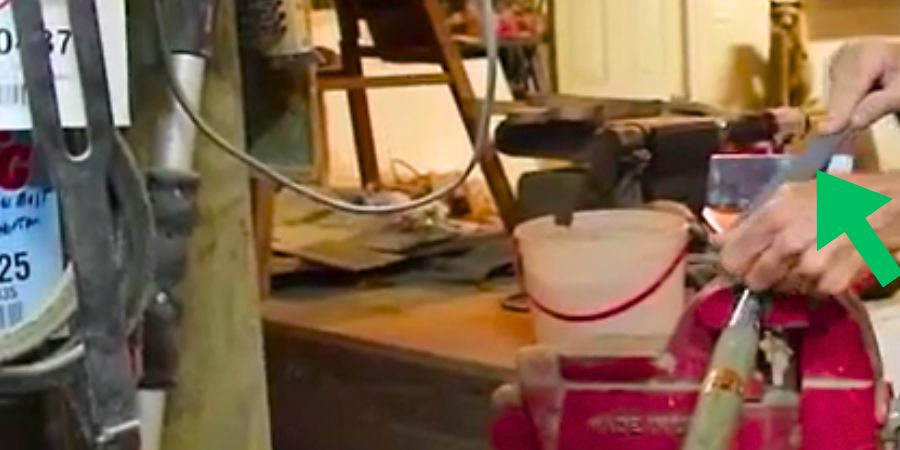
Continue sharpening until the edge is clean, smooth and sharp.
Check for sharpness:
Run your thumb lightly (parallel to the edge) to feel the sharpness of the blade. Be careful to avoid injury. It should be sharp but not razor-sharp – just enough to easily slice through soil and weeds.
Lubricate the blade:
After sharpening, wipe off any metal filings and apply a light coating of lubricant or oil to protect the blade from rust. This helps extend the life of your tool.
Store properly: Store your Dutch hoe in a dry place, hanging it or keeping it off the ground to prevent the blade from getting wet.
How to Use a Dutch Hoe ?
Using a dutch hoe for the first time is easy and effective to keep your garden weed free . I have create a step by step process please follow it and use the dutch hoe perfectly .
Understand Dutch hoe:
The Dutch ax has a flat, sharp blade that is angled to skim just below the surface of the soil. It is designed to cut rather than dig up weeds.
Hold the hoe correctly:
Stand straight, hold the dutch hoe in both hands. Place one hand near the top of the handle for leverage and the other hand halfway down the handle for control.
Posture:
Keep your back straight and bend your knees slightly for comfort. The long handle allows you to work without bending too much.
Location of Blades:
Place the blade flat on the ground, just below the surface, where the weed is growing. The idea is to cut weeds at the root level, not dig deep.
Push and Pull Motion:
Gently push the hoe forward with the sharp edge of the blade between the soil and the weed base.
After pushing, pull the spade back slightly. This helps loosen the weeds from the soil and leaves them on the surface.
Focus on surface weeds:
Use the hoe primarily on small, young weeds before they become established. It is not designed to dig up large, deep-rooted plants.
Work in straight lines:
To cover the soil efficiently, move the hoe in straight, overlapping lines across the area you’re weeding.
Clean the blade periodically:
After every few strokes, check the blade and clean off any accumulated soil or plant debris.
Regular use:
The more times you use the hoe, the less effort you will need each time, as you will prevent weeds from taking root.
FAQs
How Do You Use a Dutch Hoe Effectively?
To use a Dutch hoe, push the handle forward to guide the blade under the surface of the soil. Maintain a shallow depth by adjusting the handle angle, allowing the blade to slice through the roots of weeds. It works best in moist or damp soil.
What Are the Benefits of Using a Dutch Hoe Over Other Garden Tools?
A Dutch hoe is lightweight, compact, and features a long handle to prevent bending, reducing back strain. It’s ideal for maneuvering around tight spaces and for gardeners who may struggle with heavier tools. The high-quality metal resists bending, making it more durable than other hoes.
Can a Dutch Hoe Be Used in All Types of Soil?
Yes, a Dutch hoe works in various soil types but is most effective in moist or damp soil. In compact or very dry soil, it may require more effort to penetrate the surface. Regular use of the hoe in prepared soil helps keep it aerated and weed-free.
What Are the Advantages of a Wooden Handle for a Dutch Hoe?
Wooden handles are favored for their natural feel and shock-absorbing properties. They are also more flexible than metal, reducing strain on the user’s hands. However, wood requires regular care to prevent splintering or rotting.