“Wood Float Finish Concrete A Timeless Concrete Finishing Method”
Wood float finishing is a fundamental technique in concrete work, applied to freshly laid mortar and concrete to refine the surface. This process involves using a wooden float, a tool with a smooth plane, to achieve a relatively flat and slightly textured surface. The primary purposes of this technique are to compact the concrete, eliminate air gaps, and prepare the surface for subsequent finishing stages or to serve as the final finish itself.
Smoothing the concrete at this stage is also crucial for the curing process, which allows the concrete to gain strength and durability. By bringing the finer particles to the surface and pushing down the larger aggregates, wood floating contributes to a more even and uniform plane.
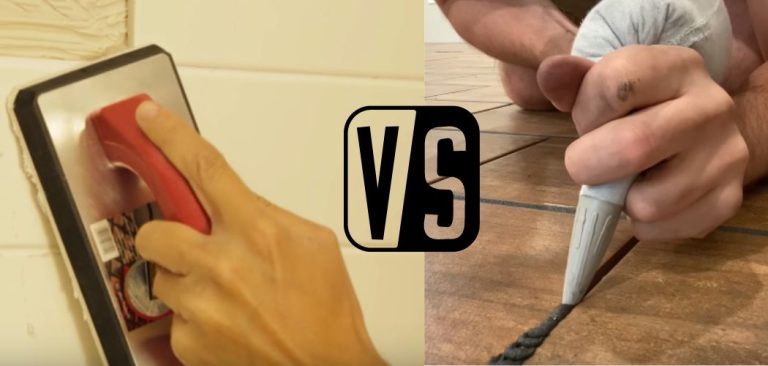
For individuals new to concrete work, a wood float is often an excellent choice due to its forgiving nature. Unlike magnesium or steel floats, wood tends to leave a slightly rougher, more open surface.
This characteristic is particularly beneficial because it allows the “bleed water,” the excess water that rises to the surface of freshly poured concrete, to evaporate. Allowing this water to escape is vital as working it back into the concrete can weaken the slab and increase the likelihood of cracking.
In contrast, magnesium floats, as noted in the research, tend to seal the surface, potentially trapping bleed water. Furthermore, wood floats are often preferred when applying color hardeners to concrete surfaces, as their texture helps to effectively work the product into the top layer.
A wood float finish is particularly well-suited for outdoor concrete surfaces such as patios, sidewalks, and driveways. The slightly rougher texture it imparts, often followed by a broom finish, provides essential traction, making these surfaces safer to walk on, especially when wet.
It also serves as an excellent base for other finishing techniques like broom finishing or stamped concrete. While primarily used outdoors, a wood float finish can also be applied to interior slabs where a less polished, more textured appearance is acceptable or desired.
Gathering Your Tools and Materials
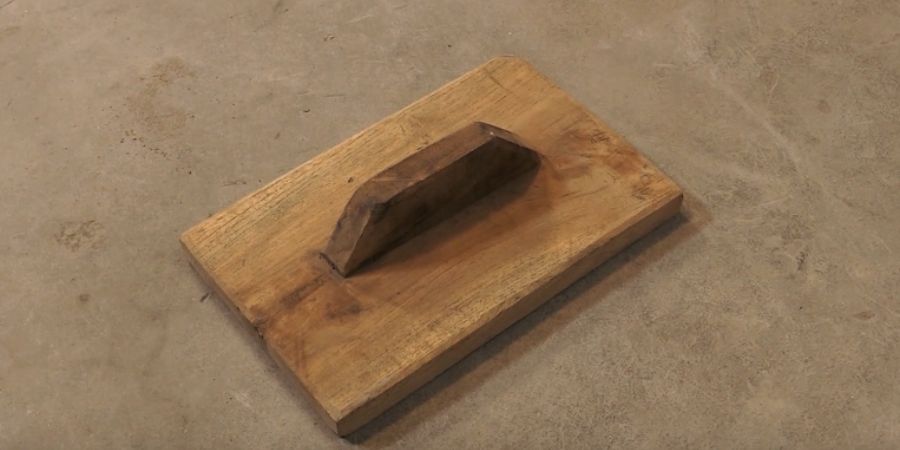
To successfully finish concrete with a wood float, several key tools are necessary. The wood float itself is the most important. These tools typically range in size from 12 to 20 inches in length and 3.5 to 5 inches in width.
For beginners, a mid-sized float, around 16 inches long and 3.5 inches wide, offers a good balance between coverage and ease of handling. Wood floats are commonly made from redwood, mahogany, or teak, each offering varying degrees of durability and resistance to water.
A screed, which is a straight board, such as a 2×4 piece of lumber, longer than the width of the concrete pour, is essential for leveling the concrete surface before floating. You will also need a shovel or a come-along rake to spread the concrete within the forms. Gloves are crucial for protecting your hands from potential concrete burns , and a measuring tape will ensure accurate measurements throughout the process.
Several optional tools can also be beneficial. A darby, a longer hand float often made of wood, can be used for leveling larger areas more efficiently. An edger is used to round the edges of the concrete slab, which improves its appearance and prevents chipping.
A groover or jointer is used to create control joints in the concrete, which help manage cracking as the concrete cures. Finally, a concrete broom can be used after floating to create a non-slip textured finish, especially important for outdoor surfaces.
When selecting your concrete mix, a standard mix with a PSI (pounds per square inch) of around 3000 to 4000 is generally suitable for beginner projects like patios or walkways. For smaller projects, pre-mixed concrete can be a convenient option, ensuring the correct proportions of cement, aggregate, and water.
Before starting, always prioritize safety. Wear gloves to protect your skin from the alkaline nature of wet concrete. Safety glasses are also recommended to protect your eyes from dust and splashes , and sturdy work boots will provide necessary foot protection.
Step-by-Step Guide to Wood Float Finish
Preparing the Concrete
Begin by pouring the properly mixed concrete into your prepared forms, ensuring you slightly overfill them. Use a shovel or a come-along rake to spread the concrete evenly throughout the entire slab formwork. It is important to avoid dumping concrete in separate piles and then working it together, as this can lead to uneven distribution and potential weaknesses. The goal is to place the concrete as near as possible to its final position to minimize disturbance.
Leveling the Surface – Screeding
Next, level the concrete using your screed board. Rest the screed on the top edges of the forms, which will act as guides. Employ a back-and-forth sawing motion while slowly moving the screed forward along the length of the slab. This action will cut away high spots and fill in any low areas.
If there are low spots the screed can’t reach, toss in a handful of excess concrete and repeat the process. It is important to avoid letting the screed sink down into the wet concrete. Continue screeding until the entire surface is level with the top of the forms.
The Wood Floating Process
The timing of the wood floating process is crucial for achieving a good finish. You need to wait until the “bleed water,” the water that rises to the surface after screeding, has completely disappeared and the concrete has lost its wet, glossy sheen.
This waiting period can range from 20 minutes to as much as 4 hours, depending on factors like temperature, humidity, and wind. A good way to test if the concrete is ready for floating is the thumbprint test: press your gloved thumb onto the surface near the perimeter. If it leaves an impression of about 1/4 inch deep, the concrete is generally ready.
Once the timing is right, hold the wood float flat against the concrete surface. Use smooth, sweeping, overlapping arcs or back-and-forth motions across the surface. Apply light, consistent pressure as you move the float to compact the surface and push down any small lumps or exposed aggregate.
Aim for just a couple of passes with the wood float. The goal is to achieve a relatively smooth and flat surface without overworking the concrete. Overworking can trap remaining bleed water beneath the surface, leading to a weaker slab and potential for cracking or scaling.
Adding Other Finishes (Optional)
After wood floating, you can add other finishes depending on your needs and desired appearance.
If you choose to edge the concrete, wait until the bleed water has disappeared and the concrete has firmed up slightly, allowing only a shallow thumbprint. Run the edger along the perimeter of the slab using long, sweeping strokes, using the form as a guide. This process rounds the edges, which helps prevent chipping and gives the slab a more finished look.
To create control joints, use a groover and a straightedge, such as a 2×4, to cut grooves into the surface. These joints should be at least 25% of the concrete’s thickness; for example, a 4-inch slab should have joints that are at least 1 inch deep. A common guideline for spacing control joints is every 8 to 12 feet for a 4-inch thick slab. Some professionals recommend spacing them at a distance of 3 times the slab thickness, or even 2.5 times.
For a non-slip surface, especially outdoors, consider a broom finish. After floating and any optional edging or jointing, wait until the concrete is firm enough to hold the texture but still slightly damp. Use a concrete broom to gently drag it across the surface in straight, continuous strokes, always pulling and in the same direction. Adjust the downward pressure to achieve the desired amount of texture.
Curing the Concrete
Proper curing is essential for the concrete to develop its full strength and durability. This involves keeping the concrete moist for at least 3 to 7 days. Several methods can be used, including constantly hosing the concrete with water, covering it with wet burlap or other fabric and keeping it damp, using chemical curing agents, or covering the slab with plastic sheeting. Moist-cured concrete can be significantly stronger than concrete that is allowed to dry out too quickly.
Tips and Best Practices
For larger concrete projects, it is advisable to work in sections, pouring and finishing one manageable area at a time. A common mistake for beginners is overworking the concrete. Remember that excessive floating or troweling can actually weaken the surface. Paying close attention to the concrete’s condition at each stage is paramount for successful finishing.
Always clean your wood float and any other tools immediately after use to remove concrete residue. If possible, avoid pouring concrete in extremely hot or cold weather, as this can complicate the setting and curing processes. Finally, it is crucial to always wait for the bleed water to evaporate completely before you begin floating the concrete.
Maintaining Your Wood Float Finish Concrete
Once your concrete is finished and fully cured (allow at least a month before sealing), regular maintenance will help prolong its life and appearance. Cleaning typically involves regular sweeping and occasional washing with mild soap and water. Applying a concrete sealer can provide an additional layer of protection against stains and water damage. It is important to avoid using harsh chemicals or de-icing salts, especially during the first winter, as these can damage the concrete surface.
Conclusion
Finishing concrete with a wood float is a straightforward technique that beginners can master with careful attention to the process. By following these steps and tips, even those with no prior experience can achieve a quality, slightly textured concrete surface suitable for a variety of applications, especially outdoors. Remember that practice and patience are key to developing your skills, and with each project, you will gain more confidence in your ability to create durable and aesthetically pleasing concrete finishes.
Read also:
When to Remove Frog Tape After Painting: Expert Timing Tips
“Mastering Concrete Finishing Trowels: Techniques, Tips, and Troubleshooting”