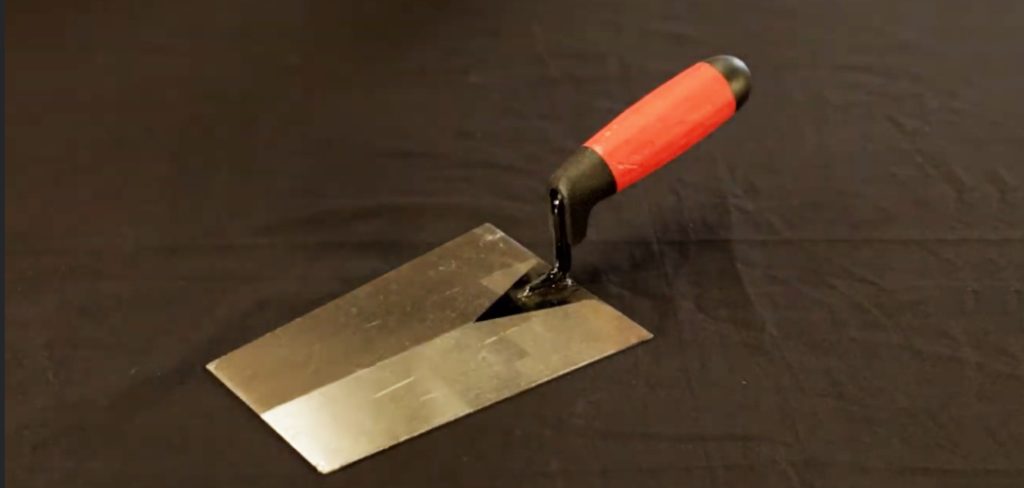
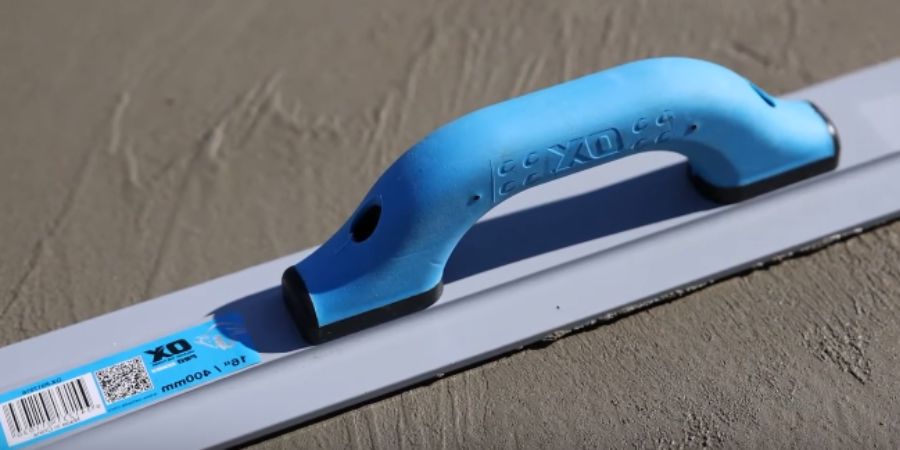
Achieving a professional concrete finish requires using properly prepared tools – especially when using a magnesium float. Lightweight yet durable, magnesium floats are preferred for their ability to open up the surface of fresh concrete, allowing bleed water to drain and the fine cement paste to rise to the top.
However, a brand new float is not ready to perform at its best right out of the box. To ensure smooth gliding and prevent surface pitting, it is essential to learn how to break in a magnesium float properly.
I will explore the science behind magnesium tools, step-by-step break-in techniques, maintenance tips, and how to troubleshoot performance issues, all of which will help you get the most out of your concrete finishing process.
The Science of Magnesium Floats
Magnesium (Mg), atomic number 12, is a silvery-white alkaline earth metal with a density of 1.74 g/cm³ at 20°C, making it the lightest structural metal available. It is up to 30% lighter than aluminum and 50% lighter than titanium—ideal for reducing fatigue during large-scale concrete finishing.
Though pure magnesium lacks structural strength, its alloys—typically containing ≤10% aluminum, zinc, or manganese—greatly enhance hardness, tensile strength, and wear resistance, surpassing 6-series aluminum by about 20%. Magnesium also resists corrosion, thanks to a protective oxide layer, and is stable in both air and water.
Importantly, magnesium resists alkalies—crucial for fresh concrete with a pH of 11–14—though it’s vulnerable to most acids. Its ability to “open the pores” of concrete helps release bleed water and air, preventing defects like blistering and delamination. This synergy of lightweight strength, reactivity, and surface interaction makes magnesium floats an essential tool for superior concrete finishes.
Magnesium vs Wood, Aluminum & Plastic Floats
Float material choice directly impacts concrete finish quality. Magnesium floats, up to 30% lighter than aluminum, offer high durability and smooth finishes. They excel at “opening the pores” of concrete, promoting bleed water evaporation and reducing surface defects.
Wood floats, though economical, are the least durable, absorb bleed water, and create a rough “torn open” texture—ideal for stiff mixes, non-air-entrained concrete, or when applying color hardeners.
Aluminum floats are about 30% heavier and 30% stronger than magnesium, providing similar smooth finishes but with slightly less durability. Resin/plastic floats offer high durability, resist water absorption, and produce a slightly rough surface. Plastic pans, used with power trowels, help achieve high FF numbers, reduce aggregate pop-outs, and allow earlier finishing.
Steel trowels/fresnos, for final stages, can prematurely seal the surface if misused, trapping bleed water and causing defects like blistering and delamination.
Tool selection must align with concrete type, timing, and intended finish. “Pre-broken-in” floats streamline performance by offering optimal surface texture from first use, reflecting an industry-wide shift toward engineered consistency.
| Material | Weight | Durability | Surface | Use Case |
| Magnesium | Light | High | Smooth, Open | Air-entrained |
| Wood | Medium | Low | Rough | Stiff mixes |
| Aluminum | Med-Heavy | Med-High | Smooth, Open | General |
| Resin/Plastic | Light-Med | High | Slightly Rough | High FF #s |
| Steel | Heavy | High | Sealed | Final finish |
How to Break In a Magnesium Float: My Step-by-Step Expert Guide
Breaking in a magnesium float is a precision task that prepares the tool for optimal interaction with fresh concrete. It’s not about creating a smooth surface—it’s about developing a specific micro-texture and edge profile that enhances glide, promotes bleed water escape, and prevents surface sealing.
Step 1: Inspect and Prep the Float
Check for sharp edges, burrs, and imperfections. Use fine sandpaper to round off edges and eliminate any scratches. Clean the surface with a damp cloth and mild soap if needed. Dry thoroughly to prevent rust—magnesium is prone to oxidation.
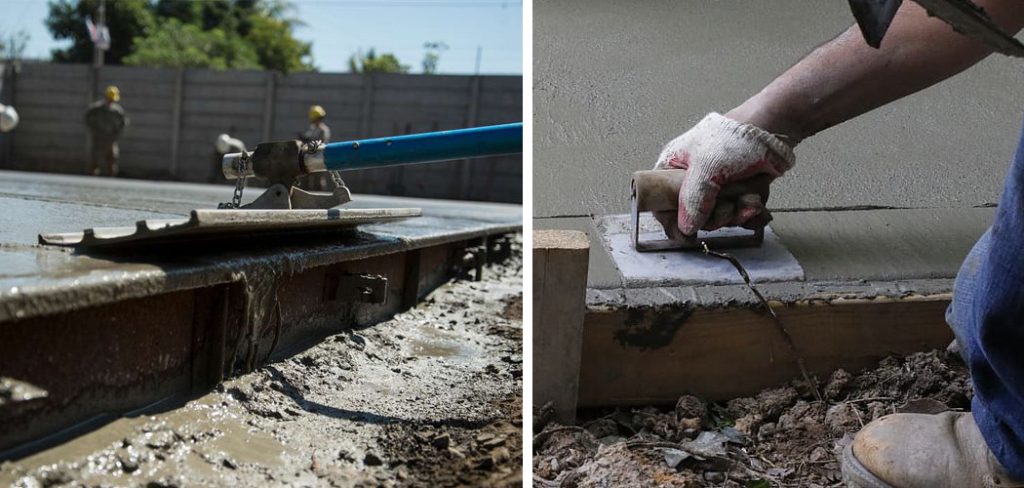
Step 2: Initial Conditioning on Rough Concrete
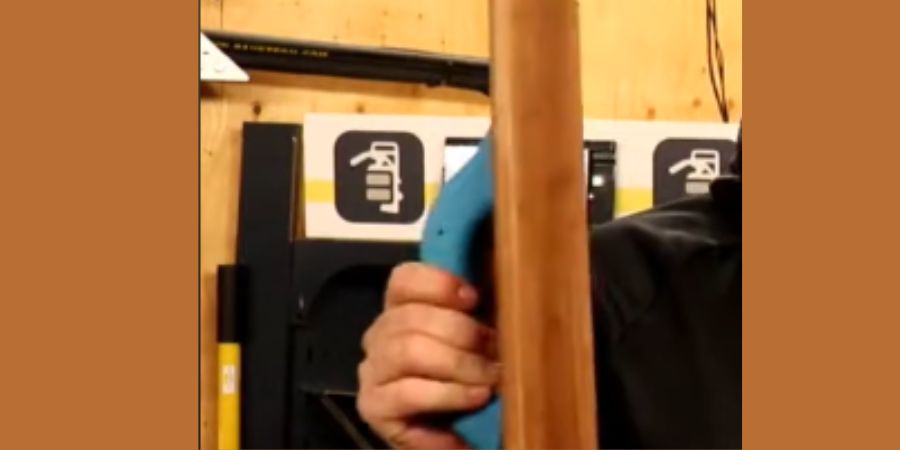
Rub the float on rough, cured concrete using consistent pressure and small circular motions. This develops a functional micro-abrasive surface and breaks down sharp edges that could otherwise gouge wet concrete.
Step 3: Controlled Technique While Floating
Hold the float with a slight leading-edge angle—not fully flat—to avoid digging in. Maintain steady pace and even pressure. Move in one direction or gentle circles. Fast or jerky movements can trap bleed water or seal the surface prematurely.
Step 4: Timing Is Critical
Begin floating right after screeding—ideally when a person leaves a 5mm (1/4 inch) imprint. Avoid early floating (when concrete is spongy) or too late (after crusting). Both lead to blisters or delamination.
Step 5: Adjust for Environment
In hot, dry, or windy weather, work sooner to avoid crusting. In cold conditions (below 40°F), delay floating until the concrete is warmer and more workable. Use magnesium floats specifically for air-entrained mixes, which bleed slower and risk early sealing.
This process ensures your float glides smoothly and performs at peak efficiency for high-quality, durable finishes.
How long does a magnesium float typically last with regular use?
A high-quality magnesium float can last 3 to 5 years under regular use conditions if properly maintained. However, heavy commercial use may reduce this lifespan to 1–2 years, while improper storage or poor cleaning habits can accelerate corrosion and edge wear even faster.
FAQ,s
At what temperature and humidity levels should I store my magnesium float to prevent corrosion?
For optimal storage:
- Temperature: Maintain between 20–25°C (68–77°F)
- Humidity: Keep below 80% relative humidity
Fluctuating temperatures and damp conditions drastically increase corrosion rates—doubling for every 10°C rise in temperature.
How often should I inspect a magnesium float for wear or damage?
Perform inspections:
- Visually after every job for cracks or dents
- Tactilely once per week for edge irregularities or roughness
- Listen during use for any irregular scraping or high-friction sounds, which may indicate poor surface contact or uneven wear
What are the most common signs that a magnesium float needs replacing?
A float should be replaced if:
- You notice cracks or deep surface pitting
- Edges become visibly uneven or chipped
- It produces streaks or gouges on the concrete
- The surface loses its natural shine or develops persistent rough spots despite cleaning or sanding
How does the concrete mix design impact float performance?
Mix components affect floatability significantly:
- High water-cement ratios increase bleeding and delay finishing
- Air-entrained concrete reduces bleed water, making floats more prone to surface sealing
- Silica fume or sticky mixes demand skilled floating to prevent tearing
- Foamed or lightweight concrete can cause premature drying or segregation, affecting surface consolidation
How can I extend the life of my magnesium float during hot weather work?
To protect your float and maintain finish quality:
- Rinse and dry immediately after each use
- Store in shade, away from heat sources
- Avoid placing directly on hot concrete or moist wood/paper
- Use gloves when handling to prevent salt and oil transfer from hands, which can accelerate corrosion
What are the benefits of using vibrating magnesium floats over traditional ones?
Vibrating floats like the MagVibe Gen3 offer:
- Up to 30% increased productivity
- Reduced operator fatigue by moving vibration away from the handle
- Improved paste migration and air bubble release, leading to denser slabs
- More consistent finish across larger surfaces with less rework required
Conclusion
Superior concrete finishing with magnesium floats blends scientific precision with skilled craftsmanship. From material science and optimal surface conditioning to adaptive techniques and modern innovations, excellence lies in mastering both float and mix behavior. With proper care, technique, and continuous learning, professionals can ensure lasting, high-quality finishes—proving that concrete work is as much art as it is engineering.
Read also: