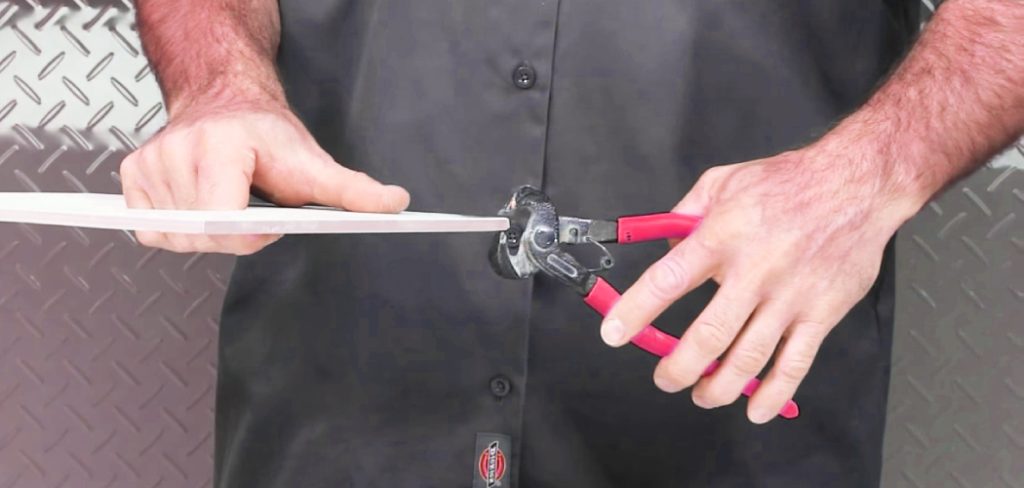
Welcome to the ultimate guide on Bucket Trowel Use! Whether you’re a seasoned professional or a DIY enthusiast, this article is your go-to resource for understanding the various types of Bucket Trowel Tools and their applications.
We’ve covered you, from highlighting their unique features to exploring their practical usage. Get ready to discover the versatility and importance of Bucket Trowels in various projects – let’s dive in!
An Overview of Bucket Trowel Types and Their Uses
Blade Types
Wide Blade
A bucket trowel with a wide blade is ideal for efficiently mixing and spreading large amounts of mortar or plaster. Its broad surface area allows for more excellent coverage and smoother application, making it suitable for tasks that require generous amounts of material.
Narrow Blade
A bucket trowel with a narrow blade is more versatile in tight spaces and intricate detailing work. It is commonly used for tasks such as applying thin adhesive layers or scraping off excess material from tight corners, ensuring precise and controlled application.
Triangle Shape Blade
The triangular shape of this bucket trowel’s blade is designed for enhanced precision when dealing with tight angles and corners. It proves helpful in tile and masonry work, allowing craftsmen to reach into corners and ensure neat finishing without wasting material.
Curved blade
A curved blade is tailored to match the contours of a bucket, making it ideal for effectively scraping and collecting every last bit of mortar or other materials. This curved design maximizes efficiency during material retrieval and minimizes waste.
Material Types
Stainless Steel
Stainless steel is a corrosion-resistant alloy known for its durability and strength. It is widely used in bucket trowels due to its resistance to rust and chemical damage.
Iron Metal
Iron metal, though less common use than stainless steel, still finds application in some bucket trowels. Sturdy but lacks the rust-resistant properties of stainless steel, making it more susceptible to corrosion in damp or corrosive environments.
Grip Types
Wooden Grip
Bucket trowels with wooden grips offer a traditional and comfortable feel in the hand. The natural texture of wood provides a secure grip even when wet, making it suitable for users who prefer a classic tool design.
Soft Rubber Grip
Bucket trowels with soft rubber grips provide excellent ergonomic support and reduce hand fatigue during prolonged use. The soft rubber material enhances grip and minimizes slipping, making it an ideal choice for tasks requiring extended periods of handling.
Step-by-step Instructions to Use Bucket Trowel
Please follow along as we break down each step to ensure a smooth experience, especially if you’re a newcomer to using a bucket trowel.
Safety: Always wear appropriate personal protective equipment to protect yourself from hazards. This should include safety goggles, a face mask to protect your eyes from flying debris, and work gloves to shield your hands from sharp edges and rough surfaces.
Step 1 – Select the Right Bucket Trowel
First, Choose the appropriate bucket trowel for your task. Consider the blade type and material. Wide blades for large applications, narrow blades for intricate work, and stainless steel for durability are common choices.
Step 2 – Begin Using the Bucket Trowel
To begin mixing materials, position the Trowel blade inside the bucket and initiate a circular motion for blending. Opting for a Wide Trowel blade is preferable for mixing, as its larger size provides added emphasis.
Step 3 – Load the Trowel
Dip the bucket trowel into the bucket of mortar or plaster. Hold the trowel at a slight angle to allow the material to adhere to the blade.
Step 4 – Scoop the Material
Use the trowel to scoop sufficient mortar or plaster onto the blade. The amount will depend on the size and depth of the area you’re working on.
Step 5 – Apply the Material
Hold the bucket trowel with a firm grip, and using a smooth motion, transfer the material from the trowel onto the surface you’re working on. Apply it evenly and with enough pressure to ensure proper adhesion.
Step 6 – Spread and Shape
Once the material is on the surface, use the flat edge of the bucket trowel to spread and shape it as desired. You can press and smooth the material to achieve an even layer.
Step 7 – Clean Excess Material
If any excess mortar or plaster is on the trowel, wipe it off with a separate tool or edge of the bucket before continuing. This will help maintain control and prevent excess material from smearing or dropping where you don’t want it.
Step 8 – Clean the Trowel
After using the bucket trowel, clean it thoroughly with water and a brush or sponge. Properly cleaned tools will be more effective and have a longer lifespan.
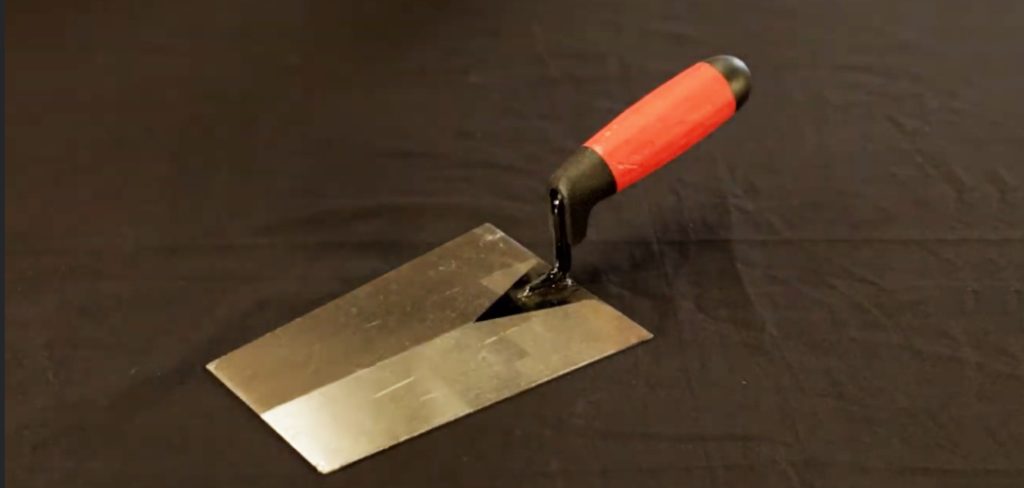
What is a Bucket Trowel Used for?
A bucket trowel is primarily designed for specific applications, such as working with mortar or plaster. Its flat, fine blade is ideal for spreading materials on surfaces. Below are some of the common uses they are used for.
1. Plastering and Stucco
Bucket trowels are essential tools for applying plaster or stucco to walls, ensuring a smooth and consistent finish. Their flat, pointed blades help spread the material evenly.
2. Bricklaying
In bricklaying, bucket trowels are used to scoop mortar from a bucket or mortarboard and spread it evenly on bricks or blocks. This ensures a strong bond between the bricks, creating a sturdy structure.
3. Tile Work
When installing tiles, bucket trowels are used to apply thin-set mortar, ensuring a level and securely adhered tile surface. The flat blade of the trowel helps spread the mortar evenly, allowing for precise tile placement.
4. Cleaning and Scraping
Bucket trowels are handy for scraping and cleaning excess mortar or grout from surfaces. Their sturdy construction and flat blades make it easier to remove stubborn residue without causing damage to the underlying surface.
5. Surface Repair
When patching or repairing damaged masonry surfaces, bucket trowels come in handy. Their precise placement and smoothing capabilities allow for accurate application of repair materials, ensuring seamless integration with the existing surface.
What Are the Common Mistakes People Make When Using a Bucket Trowel?
Common mistakes when using a bucket trowel include:
- Holding it at the wrong angle.
- Applying uneven pressure.
- Overloading it with the material.
- Refrain from cleaning it.
Avoiding these mistakes will ensure better results and prolong the life of the trowel.
Bucket Trowel Alternative Tools
The best option for a bucket trowel depends on the specific task or application. However, if a bucket trowel is not available or suitable, the margin trowel is often considered the closest alternative.
It has a similar flat, rectangular-shaped blade and is commonly used for small-scale masonry work, such as applying or removing mortar in tight spaces or corners. In many cases, the margin trowel can provide similar functionality to a bucket trowel.
FAQ
How Do I Clean and Maintain My Bucket Trowel After Use to Ensure Its Longevity?
To clean and maintain your bucket trowel for longevity:
1. Rinse the trowel with water and gently scrub if necessary.
2. Soak stubborn residue in warm soapy water before rinsing again.
3. Dry the trowel completely to prevent rust or corrosion.
4. Store in a dry place, hanging or in a protective case.
Regular cleaning and maintenance will help your bucket trowel last longer.
Conclusion
In conclusion, thank you for reading this comprehensive guide on Bucket Trowel Use. We hope you found the information helpful and informative. Bucket trowels are simple yet indispensable tools that significantly improve your construction and masonry projects.
If you found this guide helpful, don’t keep it to yourself! Comment below with your thoughts and experiences using bucket trowels. Share this article with your friends, colleagues, and fellow DIY enthusiasts who might benefit from this valuable information. Happy building!
You may read also – Pointing Trowel: How and Where to Use