Garden Hand Fork Uses and Maintenance: Mastering the Essential Gardening Tool
“Let’s embark on a journey to become skilled gardeners by mastering the art of using essential garden tools. In this article, we’ll dive into properly using a garden hand fork, a versatile tool every gardener should have in their arsenal.
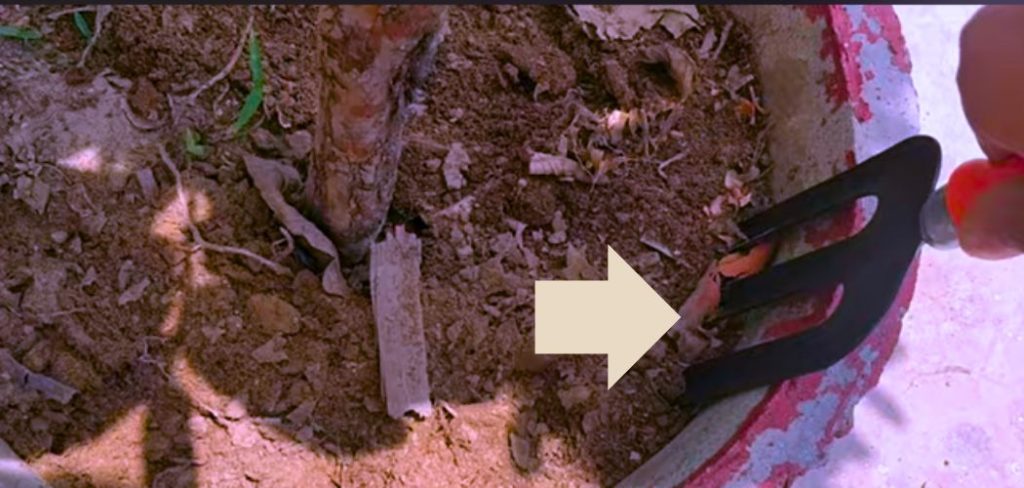
We’ll begin by exploring the basics of this indispensable tool, equipping you with the knowledge you need to make your gardening endeavors more effective and enjoyable.”
What is a Garden Hand Fork and Its Purpose?
A garden hand fork, with either three or four sturdy tines, is a versatile tool for gardeners. It features a handle and excels at tasks like loosening soil, removing weeds, and breaking up clods.
Made from durable materials like carbon or stainless steel, it’s designed to withstand the rigors of gardening. Garden hand forks have shorter, closely spaced tines compared to pitchforks, with a comfortable handle. Variations like border forks for lighter work and broader-tined divisions for lifting root crops are also available.
How to Use a Garden Hand Fork?
This garden hand fork is a unique tool for gardening; it is very easy to use, but you may not think so because you are unfamiliar with it. Below, I describe how you can use them in your garden:
Weed Control:
Weeds, those persistent intruders, can wreak havoc on your garden by robbing your crops of essential nutrients. Fear not, for your garden fork is here to lend a helping hand in this ongoing battle. Here’s how to effectively combat these garden nuisances:
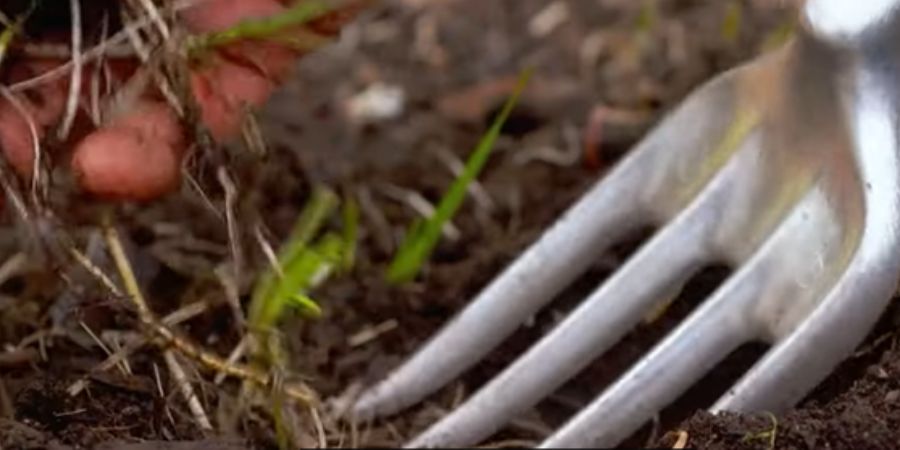
- Firm Grip: Start by securely gripping the handle of the garden fork, ensuring a strong and confident hold.
- Prong Precision: Insert the fork’s prongs into the soil, positioning them strategically next to your cherished crop.
- Root Redemption: Angle the prongs to penetrate the weed’s base, firmly anchoring them into the earth.
- Soil Surge: With a steady, controlled motion, lift and turn the soil, uprooting the weed while simultaneously aerating the soil—a win-win for your garden’s health.
However, you will be using it for small to medium-sized weeds, and it may be more effective if there is a large amount of weeds in one area.
Soil Preparation for Sowing:
Preparing your soil for seed sowing is an art, and the garden fork is your trusty paintbrush. Follow these steps to create an optimal seedbed:
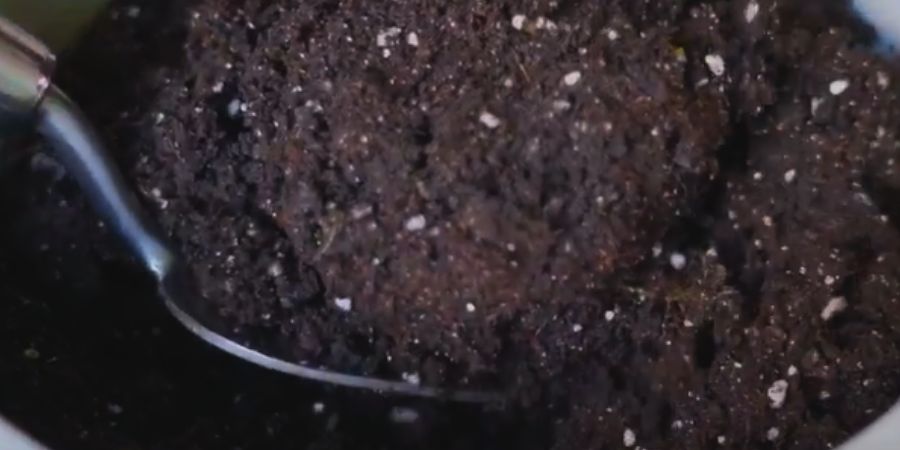
- Prong Placement: Insert the fork’s prongs vertically into the soil along the circumference of your planting area.
- Controlled Elevation: Hold the handle of the garden fork and, with a subtle wrist motion, lift the soil upward. This action aerates and fluffs the soil, creating an ideal seed environment.
- Systematic Approach: Repeat this process along the planting rows, ensuring uniform soil preparation—a canvas ready for your gardening masterpiece.
Fertilizer Application and Crop Rooting:
Certain crops, like potatoes, gourds, and pumpkins, demand specific soil conditions to thrive. Your garden fork plays a vital role in establishing these conditions:
- Horizontal Precision: Insert the fork horizontally into the soil near the base of your crop, minimizing disturbance to the roots.
- Fertilizer Channel: Gently pull the soil, creating a channel for precise fertilizer application.
- Soil Reclamation: After fertilizing, gently pull soil from a short distance to cover the fertilized area. Use the garden fork to expertly fill and pack the area around your crop’s roots, providing vital support.
Hand Fork Materials and Their Price?
Hand fork materials and their price ranges:
- Steel Hand Forks: Prices vary from $10 to $30+ for durable, rust-resistant options.
- Stainless Steel Hand Forks: Highly durable and rust-proof, typically priced between $15 and $35+.
- Carbon Steel Hand Forks: Known for strength and durability, prices range from $10 to $30.
- Aluminum Hand Forks: Lightweight and rust-resistant, usually priced between $10 and $20
- Remember that actual prices may depend on factors like brand and quality. Opting for a higher-quality hand fork often proves a better long-term investment.
Hand Fork Pros and Cons?
Pros
- Versatility: Hand forks are versatile tools that can be used for various gardening tasks, including weeding, planting, digging, and aerating soil.
- Precision: Their small size and narrow tines allow for precise work, making them ideal for working around delicate plants and tight spaces.
- Ease of Use: Hand forks are user-friendly and suitable for gardeners of all skill levels, from beginners to experienced horticulturists.
- Weed Control: They are effective for removing weeds by getting to the root, helping to keep your garden beds weed-free.
- Soil Aeration: Hand forks help improve soil aeration, allowing better water infiltration and nutrient absorption by plant roots.
- Lightweight: Most hand forks are lightweight and easy to carry, reducing fatigue during extended gardening sessions.
- Durability: Hand forks can be durable and long-lasting depending on the material and quality.
Cons
- Limited Depth: Hand forks are unsuitable for digging or breaking up heavily compacted soil. They are best for shallow tasks.
- Physical Effort: Using a hand fork requires physical exertion, which may not be suitable for individuals with mobility issues or for larger gardening projects.
- Not for Large Areas: They are less efficient for working on extensive garden beds or areas requiring extensive soil preparation.
- Limited Reach: Hand forks have a limited reach, meaning you must get close to the plants or weeds you want to work on.
- Surface Damage: Inexperienced users may inadvertently damage plant roots or soil structures if not used carefully.
- Material Quality: The quality and durability of a hand fork can vary based on the materials used. Lower-quality options may last less long or perform better.
How to Maintain a Garden Hand Fork?
To ensure your garden hand fork stays in peak condition, follow these steps for proper maintenance:
- After each use, clean the hand fork thoroughly, ensuring you remove all soil and debris that may have accumulated on it.
- Allow the hand fork to dry completely before storing it. Storing it in a dry environment is essential to prevent rust and damage over time.
- Consider using different types of oils to maintain your garden tools. Linseed and tung oils are often recommended due to their quick-drying properties. However, coconut oil and walnut oil are also effective for preserving wooden handles.
- These natural oils are crucial in preventing wooden handles from drying out, cracking, and rotting.
- When applying the oil, spread it evenly on the wooden parts of the tool and the mechanism parts. Wipe off any excess fat to ensure effective protection of the wood.
- Pay special attention to tools that come into contact with chemicals, as they can corrode metal parts. Regularly inspect these tools for wear and rust.
Following these steps, you can maintain your garden hand fork and other tools in excellent condition, ensuring their longevity and functionality.
FAQ
What is the Proper Technique for Lifting Potatoes or Root Crops With a Garden Hand Fork?
To lift potatoes or root crops with a garden hand fork, gently insert the fork into the soil alongside the plants. Gradually lift, taking care not to harm the crops. This method ensures the produce remains intact during harvesting, preserving its quality.
Conclusion:
“I’ve carefully outlined the techniques for using a garden hand fork and highlighted the essential maintenance tips. This knowledge is geared towards enhancing your proficiency and self-reliance in gardening.
If you have any alternate viewpoints, kindly share them in the comments below. Moreover, I encourage you to spread the word about this article with your friends. Your feedback and support will inspire me to craft even more informative and valuable articles in the future.”
Read also:

