Known also as the Score and Snap Tile Cutter, the HDX Tile Cutter is a convenient hand tool that costs $22 at Home Depot and is made especially to cut ceramic and porcelain tiles up to 14 inches square and 10 inches diagonally.
Compared to conventional tile saws, its composition includes a metal body with plastic end caps and base, as well as a half-inch cutting wheel for scoring tiles. This allows for easier, more precise cutting of straight and angled tiles with less noise.
For a multitude of tile cutting tasks, such as backsplashes, countertops, and even mosaic tiles, this 14-inch carbide tip tile cutter is highly recommended due to its silent operation and clean cutting capability.
With features like a padded handle to lessen user strain while operating and a ruler for accurate measures, this tile cutter is a top pick for do-it-yourself tile installation tasks since it combines convenience and practicality. Come along to find out how to utilize it.
Understanding Your Hdx Tile Cutter
Understanding the construction and capabilities of your HDX Tile Cutter is crucial for efficient and precise tile cutting. Here’s a detailed breakdown:
Construction Details of Hdx Tile Cutter
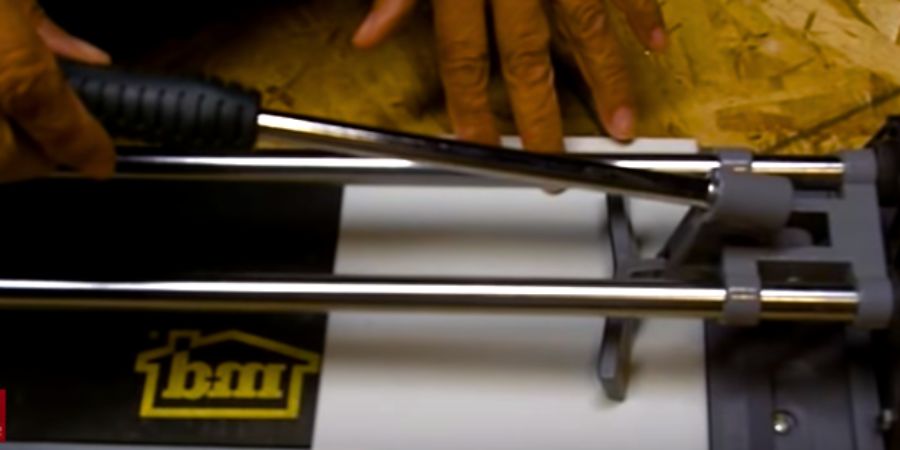
- Body and Handle: The HDX Tile Cutter features a durable metal body, complemented by plastic end plates for stability. Its handle is crafted from plastic rubber, ensuring a comfortable grip during operation.
- Base and Guide: A plastic base equipped with rubber strips prevents slippage, while the plastic guide, adjustable yet with some flexibility, aids in maintaining precision during scoring.
Capabilities and Limitations of Hdx Tile Cutter
- Tile Compatibility: Designed for both ceramic and porcelain tiles, the HDX Tile Cutter excels in cutting tiles up to 14 inches square and 10 inches diagonally. However, it struggles with ceramic floor tiles thicker than 3/8 inch, porcelain tiles, and natural stone tiles.
- Cutting Mechanism: Utilizing a half-inch cutting wheel, this manual cutter scores the tile, which is then snapped to achieve a clean cut. It includes a jig for setting specific depths for repetitive cuts and a ruler for precise measurements..
Safety and Recommendations
- Safety Precautions: Always wear eye protection to safeguard against potential flying tile fragments during cutting..
- Job Suitability: The HDX Tile Cutter is best suited for small to medium-sized DIY tiling projects, offering an efficient and quiet operation without the mess associated with wet saws..
This detailed overview of the HDX Tile Cutter’s construction, capabilities, and safety considerations equips users with the knowledge needed for successful tile cutting projects.
Preparing to Cut Tiles
To ensure a smooth and efficient tile cutting process with your HDX Tile Cutter, follow these preparatory steps closely:
Setting Up the Tile
- Place the tile glazed side up on the cutter’s bed beneath the cutting wheel and pressure pad.
- Align the cutting marks with the guideline on the tool’s bed..
- Press the tile’s edge firmly against the cutter’s end stop.
- After positioning the cutting wheel against the near edge of the tile, move it along the rails.
- Measure and mark the tile with a solid line or mark at each end for easier alignment..
Preparing the Cutter
Ensure the cutting wheel and handle are retracted to the backside of the cutter before starting.
Safety Measures
- Always wear eye protection to prevent injury from flying tile fragments.
- For dry cutting with power tools, use a respirator and, if possible, move the work outdoors to avoid fine dust inhalation and mess.
- If cutting indoors, utilize a dust collection vacuum and cover surfaces to contain dust.
- Wear hearing protection, as powered tile cutting methods can be loud.
By adhering to these steps, you’re not only preparing your workspace for tile cutting but also ensuring personal safety and the longevity of your HDX Tile Cutter.
Step by Step How to Use an Hdx Tile Cutter
To achieve precise cuts with your HDX Tile Cutter, follow these step-by-step instructions for an efficient tile cutting process:
Scoring the Tile
- Position the tile on the jig, ensuring it’s flat and secure. Align the scoring wheel with your marked line on the tile.
- Apply slight downward pressure and firmly push the tungsten carbide scoring wheel across the tile’s surface from one end to the other, ensuring a solid score line.
- For mosaic tile sheets, score each tile individually across the entire width to ensure a clean break.
Snapping the Tile
- After scoring, leave the tile in place. Lift the handle to let the pressure bar pad pivot down onto the tile’s center.
- Apply firm yet gentle increasing downward pressure on the handle. The tile should snap cleanly along the scored line if properly scored.
- For mosaic tiles, apply downward force to each tile one at a time to snap them, then sever the mesh backing with a utility knife to separate the pieces.
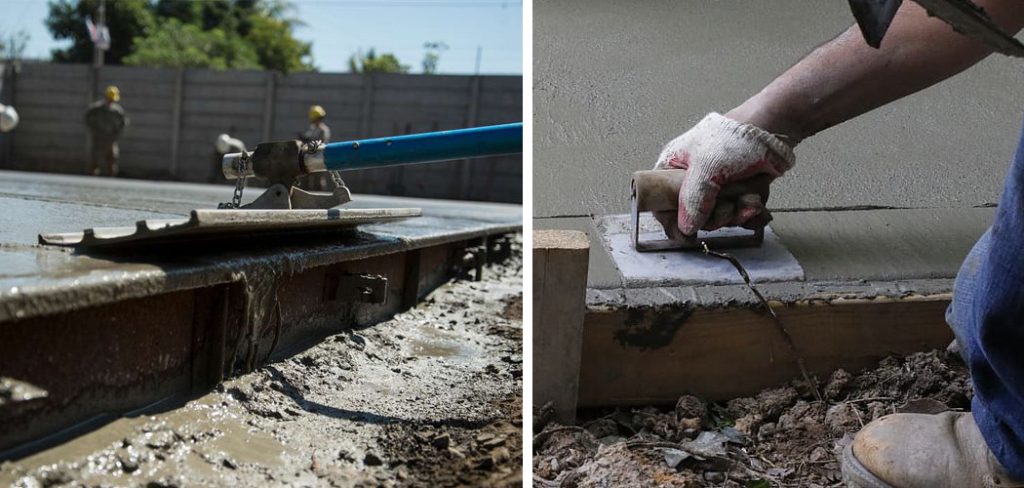
Using a Wet Saw (Alternative Method):
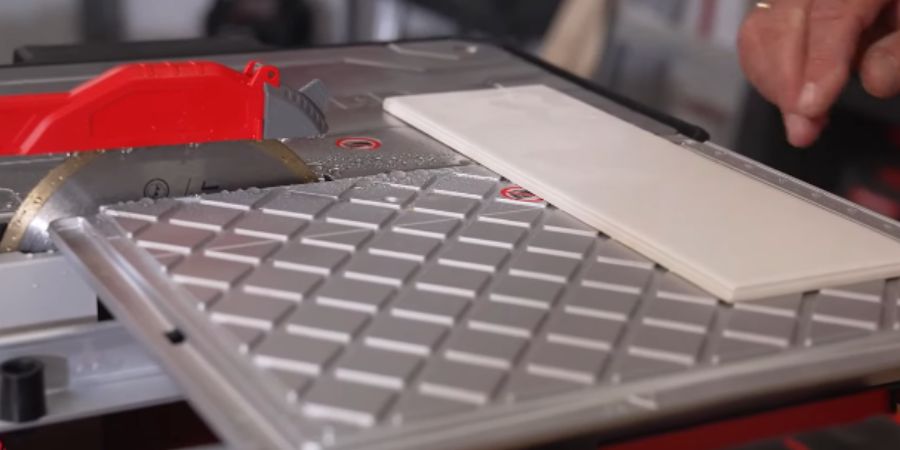
- If a wet saw is preferred, especially for tiles that are not compatible with the HDX Tile Cutter, first ensure the water pump is operational and the blade sharp.
- Measure and mark your tile, then guide it smoothly towards the wet saw blade, allowing the blade to cut through the tile without force.
- These steps, when carefully followed, ensure clean and precise cuts, whether using the HDX Tile Cutter for straight or angle cuts, or a wet saw for more challenging tile materials.
Tips for Perfect Cuts and Maintenance
To ensure the longevity of your HDX Tile Cutter and achieve perfect cuts, follow these maintenance and cutting tips:
Perfecting the Cut
- If the edges of the cut tiles are sharp or jagged, gently use a sanding sponge to blunt the sharp edges for a safer handling.
- For a clean finish, the cut tile can be precisely filed down with a sanding block or filing stone, smoothing out any imperfections.
- Should the cut not be as clean as desired, employing a tile stone can effectively smooth it out, ensuring a professional finish.
Maintenance Essentials
- Regularly replace the scoring wheel and blades as needed to maintain optimal performance and precision in cutting.
- Utilize a proper maintenance kit to clean your manual cutters, keeping them in top condition and extending their lifespan.
- Emphasize regular maintenance of your equipment to prevent deterioration and ensure consistent results.
Continual Education
- Even the most experienced tile setters should never stop learning. Continually educate yourself on the latest tools, techniques, and tile cutting technologies to stay ahead.
- Keeping abreast of industry news is vital as tile cutting technologies evolve, allowing you to adopt new methods that could enhance efficiency and outcomes.
- By adhering to these tips and dedicating time to maintenance and education, you’ll not only extend the life of your HDX Tile Cutter but also improve the quality of your tile cutting projects.
summary
A cost-effective option for small tile cutting projects, the HDX Tile Cutter is suitable for ceramic and porcelain tiles up to 14 inches square and diagonally. This manual tool utilizes a scoring mechanism to create a clean cut after snapping the tile.
Prior to use, safety precautions like wearing eye protection are recommended. Users can achieve precise cuts by following the provided instructions. However, for larger projects or harder tiles, a wet saw might be a more appropriate choice.
FAQs
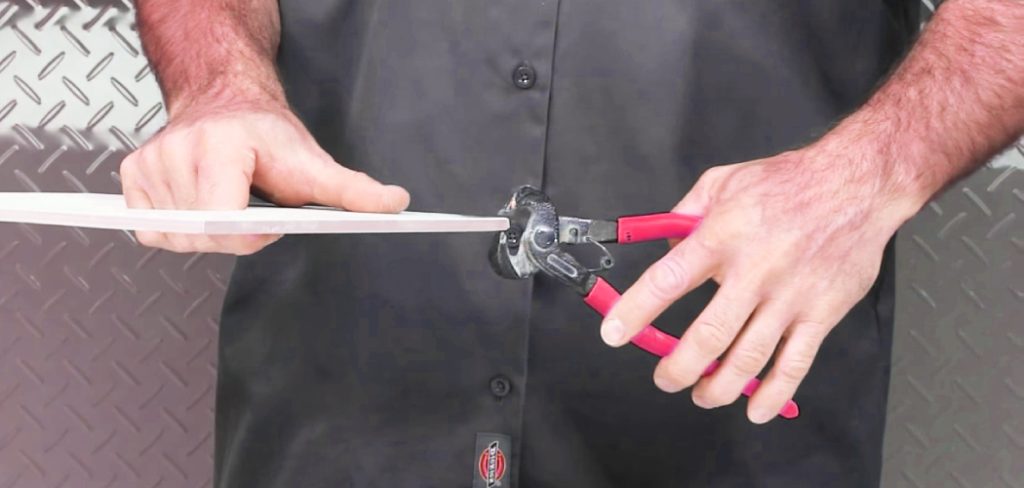
How to Operate a Tile Cutter for First-Time Users?
To use a tile cutter effectively, especially if you’re a beginner, it’s crucial to familiarize yourself with the device. Typically, you’d move the handle and make a pushing motion to score the tile. This method is often more intuitive and allows for greater control over the pressure applied, making it a preferred choice for those new to tile cutting.
Should I Push or Pull When Using a Tile Cutter?
When using a tile cutter, pushing the handle to score the tile is the recommended technique. This approach is not only more natural but also provides ergonomic benefits, giving users, especially beginners, enhanced control over the pressure exerted during the cutting process.
How Can I Prevent Tiles from Chipping During Cutting?
To avoid chipping tiles while cutting, especially porcelain, it’s advisable to make a small notch in the tile with your saw before proceeding with the full cut. This technique reduces pressure at the start of the initial cut, thereby minimizing the risk of cracking or chipping.
Which is Preferable: A Tile Cutter or a Wet Saw?
When deciding between a tile cutter and a wet saw, consider the project’s scale and the tile material. Wet saws, equipped with a diamond blade, are ideal for cutting hard tile varieties and are unparalleled for slicing through glass tiles smoothly. They are particularly suited for larger projects, offering faster, easier, and more precise cuts compared to manual tile cutters.
conclusion
In conclusion, the HDX Tile Cutter is a user-friendly and affordable tool for DIY enthusiasts tackling small to medium-sized tile cutting projects. It delivers clean and precise cuts for ceramic and porcelain tiles, while being significantly quieter and less messy than wet saws.
By following the comprehensive guide provided, users can effectively utilize the HDX Tile Cutter, ensuring a successful and safe tile cutting experience.
Read also: